ZOUBI ♥
Translate
tirsdag 9. oktober 2012
søndag 7. oktober 2012
DIY: Children's suitcase
Did you use have a little cute suitcase when you were a child? I did. It was red with white flowers, if I remember correctly. I had the clothes for my barbies in it. Sadly I don't have it anymore, wish I did, but it was probably given away as I got too old to play with dolls..
I think it looked quite similar to this one:
But even though I don't play with barbies anymore, I still like the suitcases though..
And Saturday I found a quite similar one in one of my favorite shops in Norway, called Søstrene Grene (they actually got a website as well, check it out, http://www.grenes.dk/index.php?page=1&lang=en). They had it in both red and blue, and also in turquoise with a lion on it (maybe the cutest, but also the most childish one). Maybe they are ment for children, but who cares. I like them. Anyway, I went for the blue one.
But of course, you know me, it didn't stay "just blue" for so long.. I wanted to pimp it up a little bit. So me and one of my flatmates (she bought a red one) had a little suitcase workshop at home Saturday evening. I will definitely recommend it! If you share interests like this with some of your friends, why not do it together? More social than doing it alone, that's for sure!
So, then the question was; what to make/draw/paint on my suitcase.. At first I thought of a pattern. Then I wanted a Buddha (I'm really into Buddhas you see). But then I thought, hey, why don't I use the candy skull that I made a while ago (see how, here: http://zoubiandme.blogspot.no/2012/09/diy-head-skull-picture.html)!? For now it was just laying there. So I did.
Here's the result!
You can use it for whatever you want. As a purse. As a case for your Christmas decorations. As a sewing kit. Or like me, for your knitting. You choose!
As I'm writing, I get a lot more ideas of suitcases that I could make.. So I actually already want to go back and buy even more suitcases..! They costed only 70 NOK (that is about 10 euros, and that's quite cheap in Norwegian measure)! Next time, I think I will make a red one to use as a first aid kit and paint a white cross on it. Isn't that just brilliant!? I will show you if (that means when) I do.
ZOUBI ♥
Btw! This is not a commercial for Søstrene Grene! (I just wanted to make that clear..)
Tweet
Pin It Now!
I think it looked quite similar to this one:
But even though I don't play with barbies anymore, I still like the suitcases though..
And Saturday I found a quite similar one in one of my favorite shops in Norway, called Søstrene Grene (they actually got a website as well, check it out, http://www.grenes.dk/index.php?page=1&lang=en). They had it in both red and blue, and also in turquoise with a lion on it (maybe the cutest, but also the most childish one). Maybe they are ment for children, but who cares. I like them. Anyway, I went for the blue one.
But of course, you know me, it didn't stay "just blue" for so long.. I wanted to pimp it up a little bit. So me and one of my flatmates (she bought a red one) had a little suitcase workshop at home Saturday evening. I will definitely recommend it! If you share interests like this with some of your friends, why not do it together? More social than doing it alone, that's for sure!
So, then the question was; what to make/draw/paint on my suitcase.. At first I thought of a pattern. Then I wanted a Buddha (I'm really into Buddhas you see). But then I thought, hey, why don't I use the candy skull that I made a while ago (see how, here: http://zoubiandme.blogspot.no/2012/09/diy-head-skull-picture.html)!? For now it was just laying there. So I did.
Here's the result!
This is what it looked like when I bought it. And it also still look like this on one of the sides.
Then I just pasted my candy skull (you've seen this before, remember?) on the front side. As simple as that. Of course, it takes a little more time if you have to make the candy skull first.. I'm not quite sure if I will leave it like this, or make something else around it, and/or on the other side.
An important detail; "Tilhører Kristine" (means that it belongs to me!)
A glimpse of what's hiding inside...
You can use it for whatever you want. As a purse. As a case for your Christmas decorations. As a sewing kit. Or like me, for your knitting. You choose!
As I'm writing, I get a lot more ideas of suitcases that I could make.. So I actually already want to go back and buy even more suitcases..! They costed only 70 NOK (that is about 10 euros, and that's quite cheap in Norwegian measure)! Next time, I think I will make a red one to use as a first aid kit and paint a white cross on it. Isn't that just brilliant!? I will show you if (that means when) I do.
ZOUBI ♥
Btw! This is not a commercial for Søstrene Grene! (I just wanted to make that clear..)
onsdag 3. oktober 2012
Parisian inspo
As you've probably understood already; Paris' got a very special place in my heart. I think it is my ultimate place to be if I could choose from all possible places on the planet. Even though I know Paris quite well now, I still always wanna go back. Again and again. I'm never finished with discovering Paris. It's like a drug - you just can't get enough. I'm actually getting a bit sad when I think about the fact that I don't live there anymore. So many things that I miss in this wonderful, wonderful city. I think I know the city of love better than most people. I like to say I know Paris like the Parisians, and not like the tourists. And yes, that is a huge difference.
On my former blog, I made a post about my favorite vintage stores in Paris, maybe I will do a similar post for you some day soon... For those who can't wait; here's the link: http://kristineslittleworld.tumblr.com/post/22077275264/vintage-in-paris
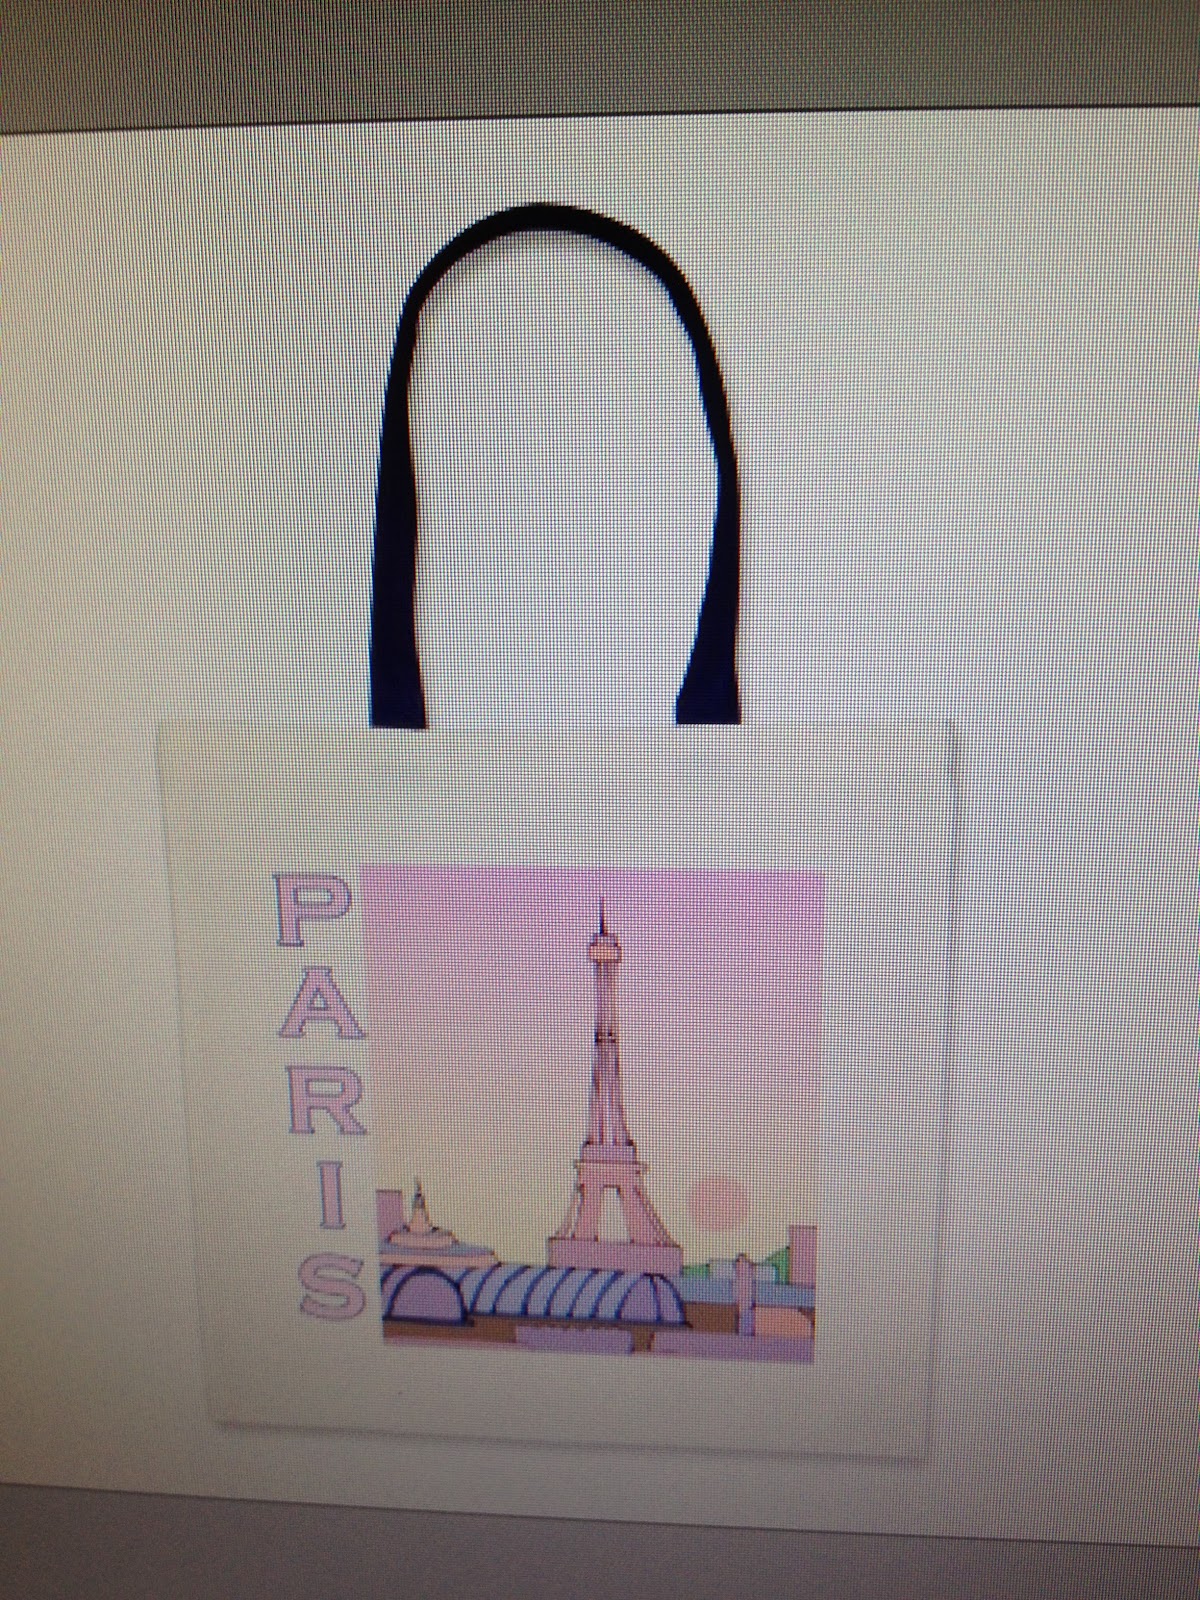
But for now, I will settle with sharing my Parisian inspo of today. That's one of the things that I do when I miss Paris more than usual, finding new inspiring Parisian photos and illustrations. I also think of making a painting à la Paris some day soon.

Tweet
Pin It Now!
On my former blog, I made a post about my favorite vintage stores in Paris, maybe I will do a similar post for you some day soon... For those who can't wait; here's the link: http://kristineslittleworld.tumblr.com/post/22077275264/vintage-in-paris
But for now, I will settle with sharing my Parisian inspo of today. That's one of the things that I do when I miss Paris more than usual, finding new inspiring Parisian photos and illustrations. I also think of making a painting à la Paris some day soon.

That would be all for now.
ZOUBI ♥
No, wait a minute..!
One last thing:
....
DIY: More bookmarks!
Hi peeps!
Remember I posted some DIY bookmarks a while a go?
So, the thing is, I kind of inspired myself to make some more. It's so easy, you got all the materials (all you need is some paper and some colorful pens, and maybe some glue) and a lot nicer than the ones you buy, in my opinion.
I'll show you some of the latest bookmarks that I have made the last days:
I usually get my ideas when I'm unable to sleep, so I actually had to write them down so that I didn't forget!
The favorite pattern of my father; stripes in different colors. Use a ruler to make the stripes look more professional.
This will brighten up your book, don't you think!?
Detail: draw the letter "L" on one side, and "R" on the other, so that you will remember which page to start reading the next time!
An advice is to use a special plastic paper (with glue on one of the sides) to protect the bookmark. Just be aware that it is bit difficult (that means really sticky!) if you haven't done it before.
Use some extra paper and cut it afterwards, that will make it easier.
This is an other one (I think I showed you last time as well..), made out of paper from a fashion magazine. About the plastic; don't rush it, you have to do it carefully to avoid bubbles etc.
I also pimped up the bookmark that I made the other day!
A collection is growing! Who wants one?
Make the two sides a bit different! Why not place one of your favorite quotes on it?
You agree?
For the conservative...
Keep calm...
...and make some bookmarks!
ZOUBI ♥
mandag 1. oktober 2012
DIY: Bracelets
When I came to France I immediately fell in love with the simple style of Parisian girls, both when it came to clothes and accessories. Well, actually, as a matter of fact, I was impressed not only by the girls, but by the the guys as well. They are all so effortlessly good looking (without necessarily being gay). 'Less is more' is definitely true in Paris. For example, les Parisiennes wore the coolest bracelets. It could be as simple as a tiny thread with a pearl on it. Or a bird. Or maybe the word 'peace'. And that's that. Nothing more. Well, at least I love it. Maybe you will too.
This sort of bracelets were to be bought both cheap and not so cheap on every street corner in Paris. I'll admit that I've bought a couple myself. But then I thought that it couldn't be hard to make them myself. In France they got shops that are called La Droguerie (no - it got nothing to do with drugs..) where you can find everything you need to make them. I'm sure stores like that are everywhere. In Norway you can find it in Panduro Hobby etc.
Here is my inspiration, the two of three bracelets that I've bought (the third one was a gift for a friend):
Tweet
Pin It Now!
This sort of bracelets were to be bought both cheap and not so cheap on every street corner in Paris. I'll admit that I've bought a couple myself. But then I thought that it couldn't be hard to make them myself. In France they got shops that are called La Droguerie (no - it got nothing to do with drugs..) where you can find everything you need to make them. I'm sure stores like that are everywhere. In Norway you can find it in Panduro Hobby etc.
Here is my inspiration, the two of three bracelets that I've bought (the third one was a gift for a friend):
A beige thread with a golden bird and a drop-shaped stone. This was a quite cheap one (maybe about 10 euros), so it's not exactly made of real gold. Today, about three years later, it's almost just as beautiful as when I bought it.
Then I bought a real silver bracelet with the word 'rock' on it (it costed about 40-50 euros I think). Simply love it, I ware it almost every day!
The once I wanted to make myself are though a little bit different, but just as beautiful in my eyes. Here is a step by step recipe how to make them yourself.
First; this is what you need:
1. Thread. Instead of buying fabric and cut them myself, these kind of threads were to be bought (with a per meter price) in a little hobby shop in Lille (city in France) - easier and nicer. They had all kind of wonderful colors and patterns. Now I only regret that I didn't buy a lot more.
2. Charms. Then I bought different kind of cool charms, like the eiffel tower, a peace sign and a head skull. These were a lot cheaper in France then in Norway, so I should have bought a lot more of these as well. I bought some in this bronze/metallic color, and some others in a silver color.
3. A lock. You also need something to lock the bracelet (or, you can of course just make a simple knot if you prefer to, but then it's harder to get it on and off..). There are many different kinds of locks, but I wanted some in the same color as the charm. I also preferred to use a rectangular shaped piece to fasten the lock to the thread (to the right in the picture), because it had exactly the same length as the thread.
4. Glue and a special plier for the lock.
Second; this is what you do:
1. Size up and cut the length of thread that you need for your bracelet.
2. Find the preferred charm (or, it's also possible to make it without any charm if you think that's nicer). Attach it to a ring (of course if the charm doesn't have one already) and then put it on the thread.
3. The last thing to do, is a bit more complicated (but not impossible). On one of the ends of the thread, you attach two rectangular formed pieces of metal (as you saw in the picture above), and then again you fasten a lock to one side and a ring to the other. This to be able to connect the two together. I used some glue on the ends before I pressed the pieces of steel together with the plier. Remember, when you fasten the lock to one side, you should verify that the size is correct, because the lock tends to extend the bracelet with some centimeters.
And that's about it!
Here is the final result. A bracelet with a little Eiffel Tower charm on the bottom, and how the lock is supposed to look like above.
Some exemples of different bracelets that I've made.
My favorite is a silver imitated head skull (I often use it with my 'rock' bracelet that I showed you above).
Hope you liked them! Sorry for some bad explanation, feel free to ask if something wasn't clear:)
ZOUBI ♥
fredag 28. september 2012
DIY: Candy skull picture
So! Hello everyone!
About time I come up with some more for you, huh?
I'm sorry that I'm not one of those daily bloggers, at least not yet. I will when it becomes a paying job (which means never, haha).
I think I will just cut the crap and go straight to what I'm supposed to tell you.
Because yesterday I finally made something I've been thinking about making for a really long time! Namely a colorful head skull painting. I found some photos in a magazine a while ago, and cut them out and saved them, because I liked them so much. Before getting rid of fashion magazines etc. I go through them to see what is worth keeping. And then I save my fave pieces in a box for a special occasion:)
And yesterday was a special occasion for my candy skull (artistic head skull) photos. Finally I got to use them! Well, at least one of them. I still got two more. And actually I think I will try to make others myself, by using my creativity! (We'll see about that..)
Like usual, I will tell you step by step what you need to do. Of course, only if you, like me, fancy colorful head skulls like this.
Tweet
Pin It Now!
About time I come up with some more for you, huh?
I'm sorry that I'm not one of those daily bloggers, at least not yet. I will when it becomes a paying job (which means never, haha).
I think I will just cut the crap and go straight to what I'm supposed to tell you.
Because yesterday I finally made something I've been thinking about making for a really long time! Namely a colorful head skull painting. I found some photos in a magazine a while ago, and cut them out and saved them, because I liked them so much. Before getting rid of fashion magazines etc. I go through them to see what is worth keeping. And then I save my fave pieces in a box for a special occasion:)
And yesterday was a special occasion for my candy skull (artistic head skull) photos. Finally I got to use them! Well, at least one of them. I still got two more. And actually I think I will try to make others myself, by using my creativity! (We'll see about that..)
Like usual, I will tell you step by step what you need to do. Of course, only if you, like me, fancy colorful head skulls like this.
1. Here are my three different candy skulls (found in a french magazine). I took a picture of them to copy them into my computer, so that I could enlarge it to the wanted size. Of course you can also use the internet to find a prefering photo. Or just draw it yourself by using your imagination!
2. With help from light from the computer it was easy to draw the lines perfectly.
3. And when that's done; choose the prettiest of all the colors of the rainbow...
3. ...and now the fun part starts! Time to color it! What colors, how many colors, what you want to be in what color; it's all up to you.
4. And some time later, it's finished!
This is only to compare my colorful one with the original black one.
Hope you liked it!
ZOUBI ♥
Edit:
If I had the guts, I would get myself a candy skull tattoo like this!
But I don't..
Abonner på:
Innlegg (Atom)